树莓派5 使用 imx219摄像头
树莓派5,77° imx219摄像头。

树莓派5 使用 imx219摄像头
安装imx219
连接
树莓派5 有两个CSI接口(摄像头接口,相机串行接口,Camera Serial Interface),分别为CAM/DISP 0 和 CAM/DISP 1,这两个接口的位置是挨在一起的。
下图将imx219接到了CAM/DISP 1。  Raspberry Pi 5 与 imx219 连接示意图
注意:一定要连接完好,接口处保持水平,不要倾斜。
配置
打开文件/boot/config.txt
1
sudo vim.tiny /boot/config.txt
若出现如下内容,则关闭此文件,并使用文件/boot/firmware/config.txt进行配置: 
打开/boot/firmware/config.txt:
1
sudo vim.tiny /boot/firmware/config.txt
修改两处,并保存退出:
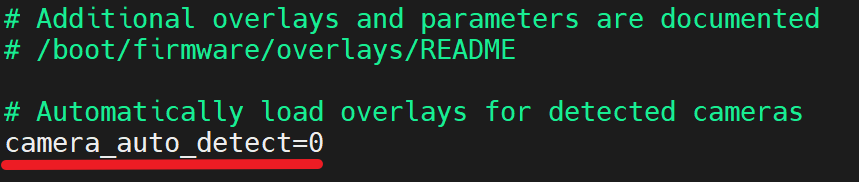
- 禁用摄像头自动检测:将
camera_auto_detect=1改为camera_auto_detect=0。
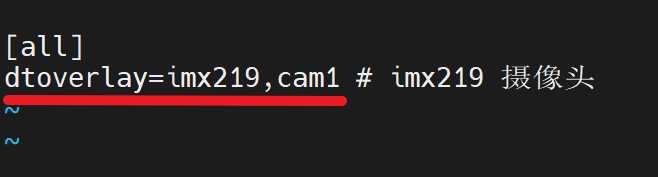
- 文件最后添加,
dtoverlay=imx219,cam0或dtoverlay=imx219,cam1。写入 cam0 还是 cam1,要与imx219连接的是CAM/DISP 0(cam0) 还是CAM/DISP 1(cam1)对应。
如果装了双摄像头,dtoverlay=imx219,cam0和dtoverlay=imx219,cam1两行都要写。
若使用其他型号摄像头,将imx219替换掉即可,如dtoverlay=ov5647,cam1。
重启树莓派:sudo reboot。
测试
使用摄像头
1
2
3
4
5
6
7
8
9
10
11
12
13
14
rpicam-hello  # 约5秒的预览窗口
rpicam-hello -t 0  # 一直开启预览窗口(无限期运行进行预览)
rpicam-hello -t 1000  # 开启1000毫秒
rpicam-hello -t 10s   # 开启10秒
rpicam-hello -t 10s --camera 0  # 指定使用的摄像头,从0开始编号。若只有一个摄像头,那它的编号就为0

rpicam-vid  # 约5秒的预览窗口

rpicam-raw  # 约5秒 不显示预览窗口

rpicam-still  # 约5秒的预览窗口
rpicam-still -t 0

libcamera-hello -t 0 --camera 0  # libcamera-hello命令也可以
下面的命令开启5秒左右的 预览窗口(preview window),然后拍摄一张全像素的jpeg图像,保存为test.jpg:
1
2
3
rpicam-jpeg -o test.jpg

libcamera-jpeg -o test.jpg
设置图像分辨率 和 浏览显示时间:
1
rpicam-jpeg -o test.jpg -t 2000 --width 640 --height 480
捕获(拍摄)视频:
1
2
rpicam-vid -t 10s -o test.h264  # 拍摄10秒视频,保存为文件test.h264
rpicam-vid -t 10s -o test.mp4   # 拍摄10秒视频,保存为文件test.mp4
rpicam-raw:
1
2
# 不显示预览窗口,直接从传感器将视频记录为原始的 Bayer帧
rpicam-raw -t 3000 -o test.raw  # 将三秒(3000毫秒)的原始剪辑记录到一个名为test.raw的文件中
rpicam-still:
1
2
3
4
5
6
7
# rpicam-still允许文件以多种不同的格式保存。
# 它支持png和bmp编码。它还允许将文件保存为 RGB 或 YUV 像素的二进制转储,没有编码或文件格式。
# 在后一种情况下,读取文件的应用程序必须了解其自身的像素排列。
rpicam-still -e png -o test.png
rpicam-still -e bmp -o test.bmp
rpicam-still -e rgb -o test.data
rpicam-still -e yuv420 -o test.data
运行命令时,若出现错误:
what(): failed to import fd 29

可能是权限不足,可使用sudo,如:
1
2
sudo rpicam-hello -t 0
sudo libcamera-hello -t 0 --camera 0
MobaXterm打开图片
1
2
xdg-open test.jpg
open test.jpg
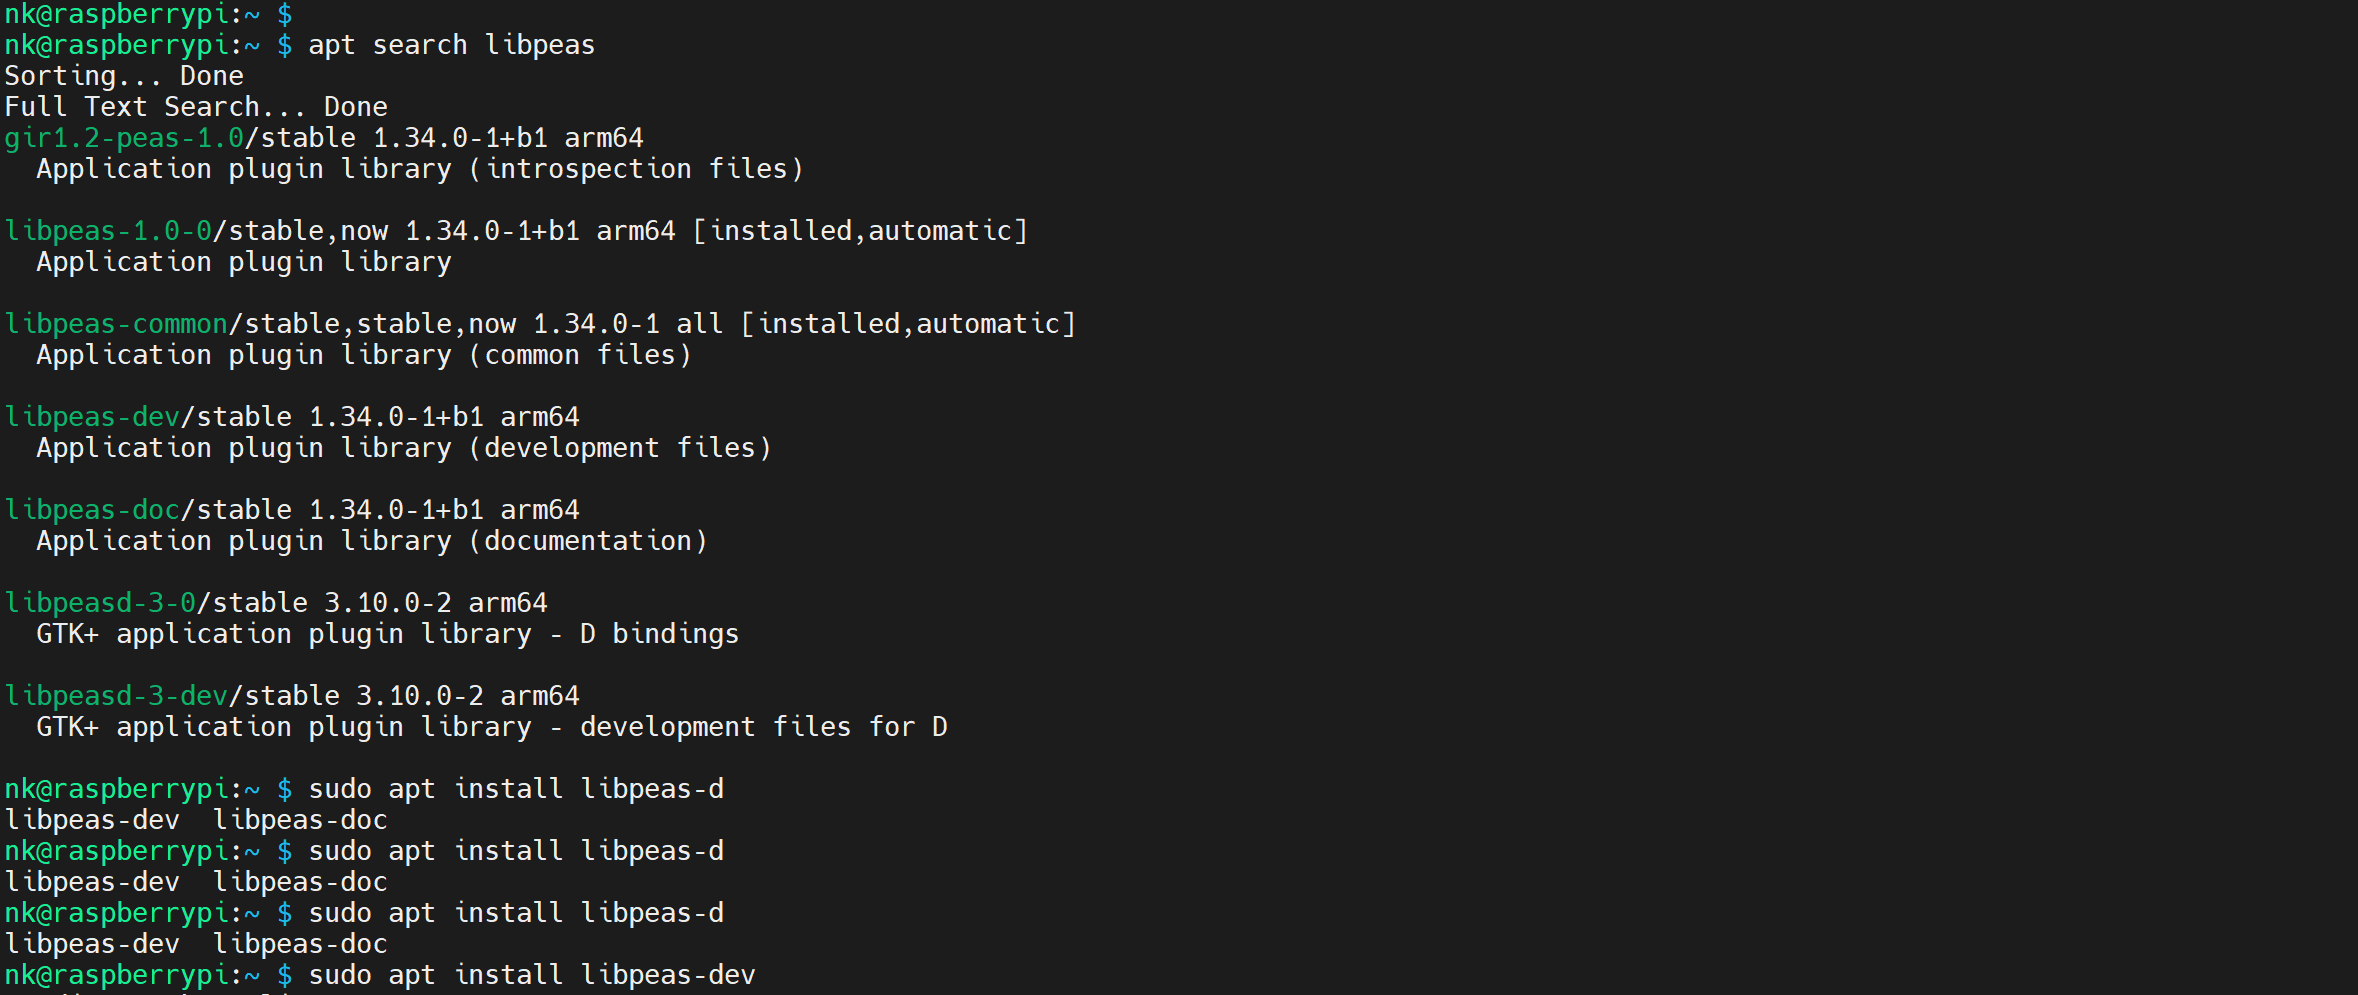
MobaXterm打开图片报错: 
解决方案是,安装Peas:
1
2
3
sudo apt install libpeas-dev
# 如果有 安装失败/找不到 的软件,则执行以下命令,然后再次执行以上命令
sudo apt update
MobaXterm X11-Forwarding不显示图像
MobaXterm ssh连接 树莓派5 后,使用xdg-open 或 open等命令打开图片,不显示图像。
可参考:MobaXterm X11-Forwarding不显示图像,可优先尝试 xdg-open 调用错误 内容。
本文由作者按照 CC BY 4.0 进行授权